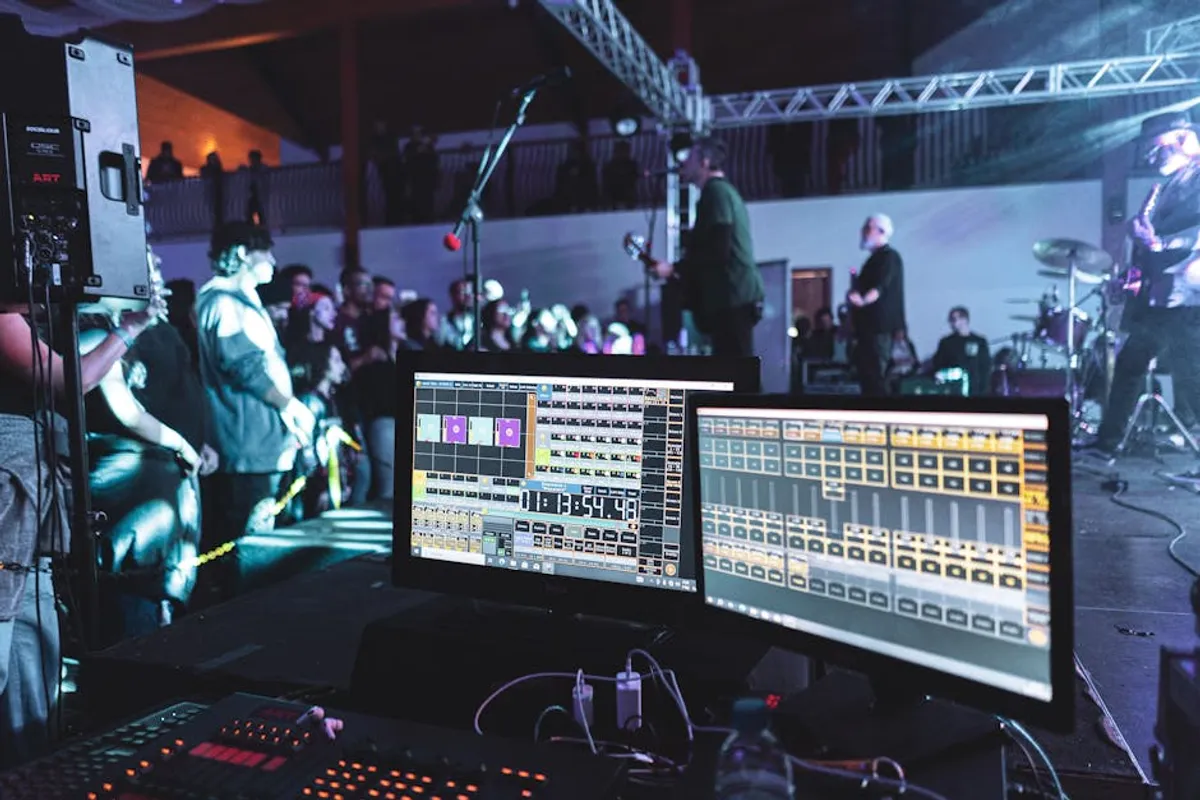
Capturing the energy of a live concert presents unique photographic challenges, from unpredictable lighting and rapid movement to strict venue regulations. For professionals aiming to deliver high-quality visual content, understanding the technical and practical nuances of concert photography is critical. This guide provides actionable strategies to overcome these hurdles, ensuring your images are not only visually striking but also commercially viable for artist promotion, event coverage, and portfolio development.
Essential Gear for Low-Light Performance
Success in concert photography begins with selecting the right equipment capable of performing optimally in challenging low-light environments. Prioritizing light-gathering capabilities and robust build quality will directly impact image fidelity and operational reliability.
Camera Bodies for High ISO
A full-frame DSLR or mirrorless camera is often preferred due to its larger sensor, which generally offers superior performance at high ISO settings. This is crucial for maintaining acceptable shutter speeds in dim conditions without introducing excessive noise. Look for models with excellent dynamic range to preserve detail in both shadows and highlights, a common issue with stage lighting. Consider cameras with fast autofocus systems, especially those with good low-light sensitivity, to track performers accurately.
Fast Lenses for Maximum Light
Prime lenses with wide apertures (f/1.4, f/1.8, f/2.8) are indispensable. These "fast" lenses allow the sensor to gather maximum available light, enabling lower ISO settings and faster shutter speeds. This combination minimizes motion blur from performers and reduces digital noise. Zoom lenses with a constant f/2.8 aperture (e.g., 24-70mm f/2.8, 70-200mm f/2.8) offer versatility for different stage distances while still providing ample light. The choice between primes and zooms often depends on access (pit vs. audience) and desired focal lengths.
Monopods and Straps for Stability
While tripods are rarely permitted in concert venues, a monopod can provide crucial stability for longer lenses or slower shutter speeds when permitted. A high-quality, comfortable camera strap is essential for managing heavy gear over extended periods, reducing fatigue and ensuring equipment security in crowded environments.
Mastering Camera Settings for Dynamic Stages
Optimal camera settings are not static; they require constant adjustment to match the evolving lighting and movement on stage. Understanding the interplay between ISO, aperture, and shutter speed is foundational.
ISO Management for Noise Reduction
Concert photography often demands high ISO settings (e.g., ISO 3200 to 12800 or higher). The goal is to use the lowest possible ISO that still allows for a fast enough shutter speed and appropriate aperture. Modern cameras handle noise at high ISOs much better, but excessive noise can still degrade image quality. Shoot in RAW format to provide greater flexibility in post-processing for noise reduction without compromising detail as much as JPEGs.
Aperture Priority for Depth and Light
Shooting in Aperture Priority (Av or A mode) allows you to control depth of field and light gathering, letting the camera select the shutter speed. Use your lens's widest aperture (e.g., f/1.4, f/2.8) to maximize light and create a shallow depth of field, isolating the performer from a busy background. If you need more of the stage in focus, a slightly narrower aperture like f/4 might be necessary, but be prepared to increase ISO or accept a slower shutter speed.
Shutter Speed for Freezing Motion
Shutter speed is critical for freezing performer motion. A general starting point for a static performer might be 1/250s, but for fast-moving artists, 1/500s or faster is often required. Experiment with slightly slower speeds (e.g., 1/125s) to introduce intentional motion blur for creative effects, especially on instruments or hair, while keeping faces sharp. The balance here is between sharpness and light gathering.
Pro Tip: Utilize your camera's burst mode (continuous shooting) during peak action. This increases your chances of capturing a sharp image during fast movements and allows you to select the most impactful frame from a sequence. Review these bursts carefully to find the shot with the best expression and focus.
Navigating Venue Restrictions and Etiquette
Understanding and adhering to venue rules is paramount for professional concert photographers. Disregarding regulations can lead to ejection and loss of future opportunities.
- Photo Pass Acquisition: Always secure a photo pass or media accreditation in advance. This typically grants access to the photo pit or designated shooting areas and specifies permitted equipment.
- No Flash Policy: Most venues and artists prohibit flash photography. Flash can distract performers and audience members, and it often produces harsh, unflattering light that diminishes the atmosphere.
- Time Limits: Many photo passes restrict shooting to the first three songs (the "three-song rule"). Be efficient and maximize your time during this window.
- Respect the Audience: Avoid blocking views or being disruptive. Work quickly and discreetly, especially if shooting from the audience area.
- Equipment Restrictions: Confirm what gear is allowed. Some venues prohibit large lenses, monopods, or external flashes even with a pass.
Compositional Strategies for Impactful Shots
Beyond technical execution, strong composition elevates concert photos from documentation to art, capturing the emotion and spectacle of the performance.
Capturing Emotion and Interaction
Focus on capturing peak moments: an artist's intense gaze, a dynamic jump, or interaction with bandmates or the crowd. These moments convey the raw energy of live music. Anticipate these actions rather than just reacting to them.
Utilizing Stage Lighting Creatively
Stage lighting is your primary light source and a key compositional element. Use spotlights to isolate performers, backlighting to create dramatic silhouettes, and colored gels to add mood. Pay attention to how light falls on faces and instruments, adjusting your position to find the most flattering angles.
Varying Perspectives and Angles
Don't stick to eye-level shots. Experiment with low angles to make performers appear larger than life, or high angles (if accessible) to show the scale of the crowd and stage. Move around the photo pit or designated areas to find unique vantage points and clean backgrounds.
Post-Processing for Professional Output
Post-processing is an integral part of the concert photography workflow, refining images for optimal visual impact and commercial readiness.
RAW File Development
Shooting in RAW provides the most data, allowing for extensive adjustments without significant quality loss. Focus on correcting exposure errors, adjusting white balance (especially important with mixed stage lighting), and recovering details in blown-out highlights or crushed shadows. Modern RAW converters offer advanced noise reduction algorithms that can clean up high-ISO images effectively.
Best for: Maximizing image quality and flexibility for client deliverables.
Color Grading and Tonal Adjustments
Concert photography often benefits from creative color grading to enhance the mood set by the stage lighting. Adjust saturation, hue, and luminance for specific colors. Utilize global and local tonal adjustments to add contrast, clarity, and sharpness, making performers pop from the background. Be careful not to over-process, maintaining a natural yet impactful look.
Cropping and Straightening
Refine composition by cropping out distractions and straightening horizons. A well-executed crop can dramatically improve the focus and impact of an image, drawing the viewer's eye directly to the subject. Ensure your final crop maintains aspect ratios suitable for various platforms (e.g., social media, print, web galleries).
Building Your Portfolio and Client Base
High-quality concert photography is a valuable asset for artists, labels, and event promoters. Strategically showcasing your work is essential for commercial growth.
Curating a Strong Online Portfolio
Select only your strongest, most diverse images for your online portfolio. Organize them by artist, genre, or event type. Ensure fast loading times and a mobile-responsive design. Include a clear contact form and information about your services. This digital storefront is often the first impression for potential clients.
Networking and Outreach
Actively network with local bands, venue managers, publicists, and music journalists. Offer to shoot for emerging artists to build your portfolio and gain experience. Attend industry events and engage with the music community both online and offline. Direct outreach to artists or their management with a curated selection of your best work can open doors.
Licensing and Usage Rights
Understand image licensing models. Clearly define usage rights with clients to protect your work and ensure fair compensation. This includes specifying where and how long images can be used (e.g., social media, print, merchandise, website). Professional contracts are crucial for commercial work.
Refining Your Approach for Commercial Success
Concert photography is a dynamic field demanding technical skill, artistic vision, and professional acumen. By consistently applying these tips—from meticulous gear selection and camera settings to strategic post-processing and client engagement—you can produce compelling images that resonate with audiences and serve commercial objectives. Focus on delivering technically sound, emotionally resonant content, and cultivate strong relationships within the music industry to establish a sustainable and respected presence in this niche.
Frequently Asked Questions
What are the most common mistakes beginners make in concert photography?
Beginners often struggle with inconsistent exposure due to rapidly changing stage lights, leading to underexposed or overexposed images. Another common error is using too slow a shutter speed, resulting in blurry performers, or relying on flash, which is generally prohibited and creates an unnatural look. Over-processing in post-production, making images look artificial, is also a frequent misstep.
How do I get a photo pass for a concert?
Securing a photo pass typically involves contacting the artist's publicist, the record label, or the venue's media relations department. You'll usually need to provide credentials (e.g., proof of publication, an established portfolio) and explain your coverage plan. Starting with local bands and smaller venues can help build the portfolio and connections needed to access larger acts.
Should I shoot in manual mode or aperture priority?
While manual mode offers complete control, Aperture Priority (Av/A) is often recommended for concert photography due to the constantly changing light. It allows you to set your desired aperture (for depth of field and light gathering) and ISO (for noise control), while the camera automatically adjusts the shutter speed to achieve proper exposure. This frees you to focus on composition and capturing the moment.
What's the best way to deal with challenging stage lighting conditions?
To manage challenging stage lighting, shoot in RAW to maximize post-processing flexibility. Use spot metering to expose for the performer's face, especially in backlit situations. Be prepared to adjust your white balance frequently or correct it in post-production. Embrace the drama of colored lights rather than trying to neutralize them completely, as they are part of the concert's atmosphere.